Hey, you!
I know you came for our awesome blog post, but we have to let you in on something. Our main business is a shop that sells a ton of unique and cool lifestyle and personal accessories made with REAL carbon fiber.
If you love carbon fiber as much as we do, go explore!
While it helps to know what you're doing, you don't have to be a pro when it comes to making carbon fiber parts from scratch. Here's a guide to how to make carbon fiber that doesn't require specialized equipment or skills.
RELATED: What Is Carbon Fiber Wrap Used For?
In this article:
How To Make Carbon Fiber Parts At Home
Supplies
There's a lot of science behind carbon fiber parts, and for some, you can use carbon fiber sheets rather than making parts from scratch. But if you can't use sheets or you want to learn how to make carbon fiber at home, you'll need some supplies.
Our carbon fiber started kit comes with everything you'll need to start, including:
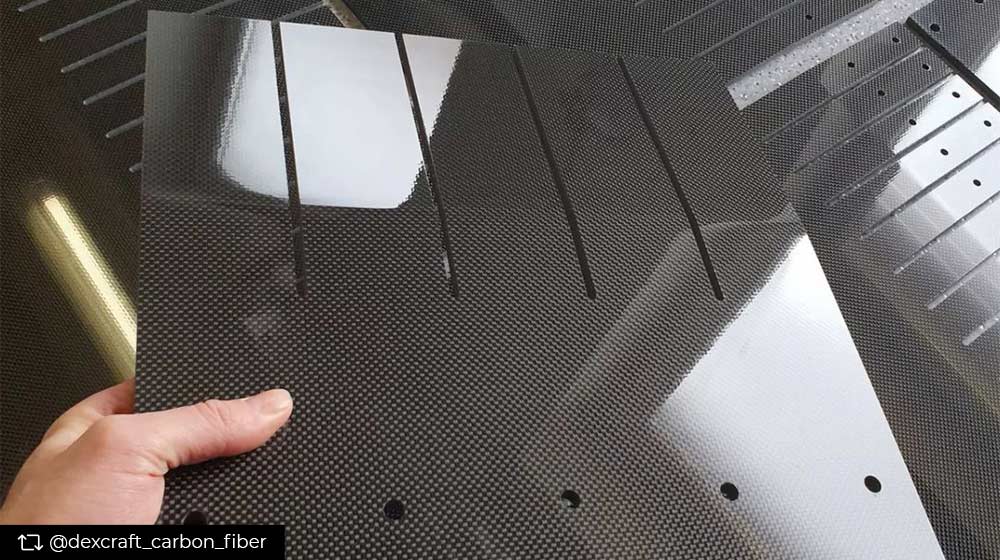
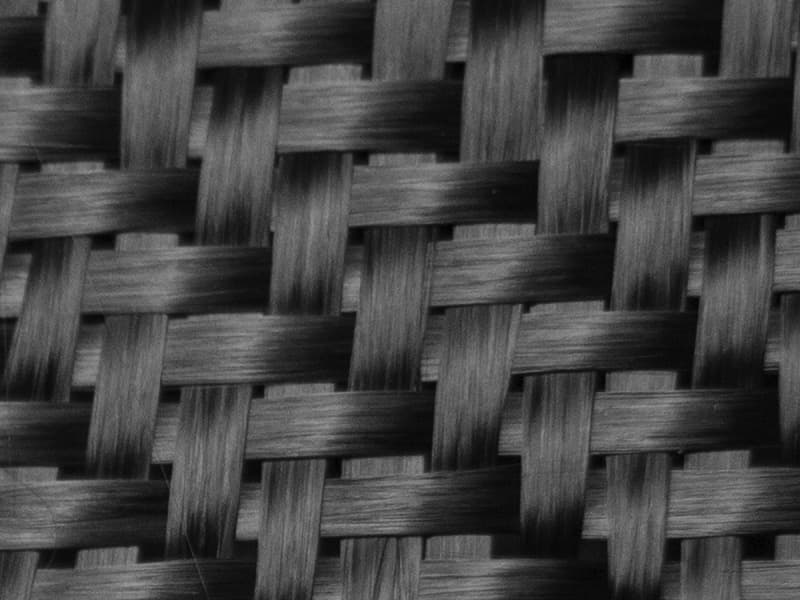
- 1 x piece 3k 2x2 twill carbon fiber fabric 24" x 50"
- Mold Release Wax
- 1 x pair of gloves
- 2 1 oz. measuring cups
- 6.67 oz of epoxy resin
- 3.33 oz of epoxy hardener
- 2 x tongue depressors for stirring
- 1 x brush for applying epoxy
- 1 x squeegee to ensure proper wet-out
- An instruction manual that covers the basics of carbon fiber layup and repair
Additionally, you'll need some sandpaper, safety glasses, and a respirator for dust. And, depending on the part you're fabricating, foam boards could come in handy to form your mold.
For some projects, you'll need a vacuum bag to remove air, impregnate the fibers with epoxy, and hold the layers together. If you're unsure if your project requires it, contact us for some guidance.
Precautions
You should always wear protective gear, such as gloves, goggles, and a face mask. While epoxy doesn't smell as bad as polyester resin, it's still best to work in a well-ventilated area. It's also paramount to protect the throat, lungs, and eyes from carbon fiber dust. Small fibers will travel through the air and can cause irritation or itching.
Secondly, epoxy and other resins can be irritating to the skin. Some people are more susceptible than others. But, you may develop sensitivity over time. So, it's best to avoid direct contact with resins from the start. A skin reaction generally includes itching, a rash, or both and may vary in intensity. To protect your skin, wear gloves and long sleeves when working with carbon fiber and resins.
RELATED: Bringing Old Carbon Fiber Back to Life
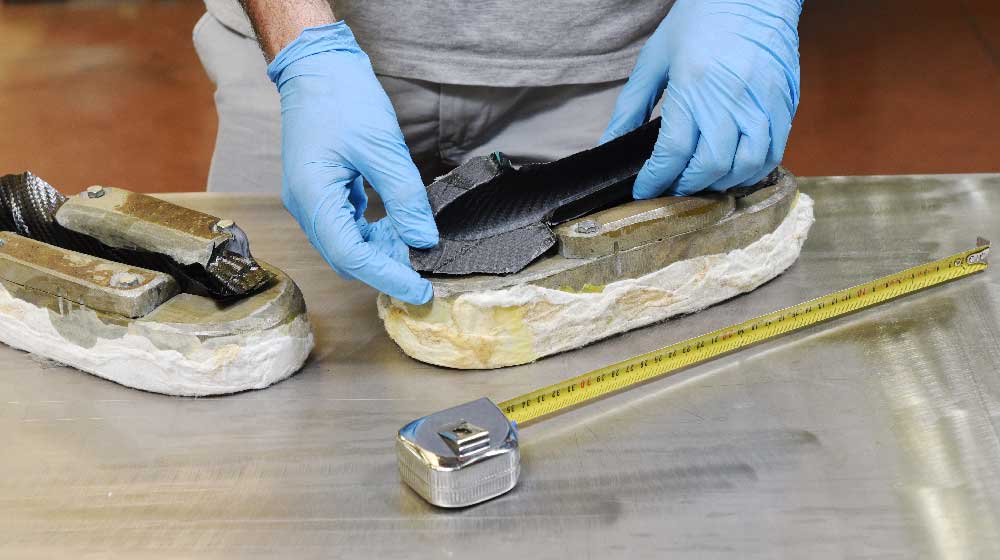
Prepare Your Mold
Before you start, you need to have a mold to shape the carbon fiber into the form you want. Molds are available online or at retailers, and you can often buy molds from automobile and motorcycle suppliers.
In some cases, the original part can work as a mold, but only if it's not damaged. Any imperfections on the surface will transfer to whatever you're making.
You can use a traditional male or female mold, depending on your part and preference. For this type of mold, you'll layer multiple pieces of carbon fiber fabric.
Male molds are usually more cost-effective and quicker to construct, but they will "grow" with each layer. So, consider the final size when making your carbon fiber part.
Another option is to use the core as the mold for your layup and the finished product. Rather than layer the carbon fiber in the mold, you can wrap the fabric around the core to form a solid piece.
For the first method, cover the mold with mold release wax. The wax creates a layer between the resin and the mold but doesn't harden. This allows you to separate the carbon fiber from the mold once it cures.
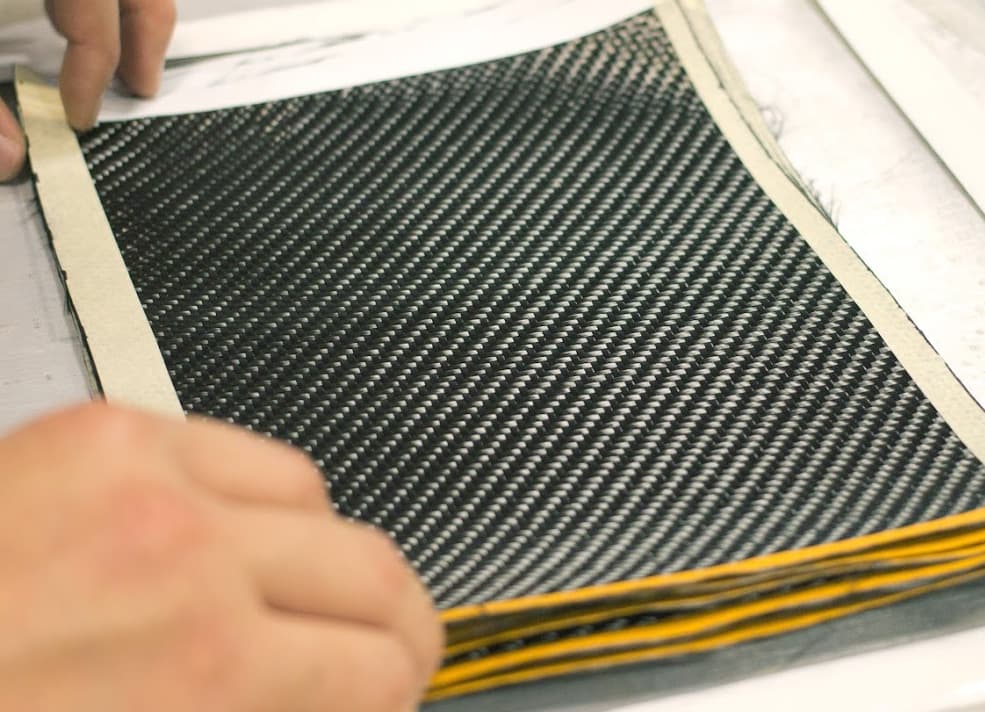
Prepare the Carbon Fiber

Next, cut the carbon fiber fabric to size and impregnate them with epoxy resin.
It takes some practice to cut carbon fabric to size. The cut edges may start to unravel, but you can use cellophane tape to mark your cut before you begin to prevent this.
Layup the Fabric
The final step is to layup the fabric in or over your mold. Apply an additional coat of epoxy between each layer. Make sure you cover the entire surface of each layer.
The number of layers depends on the part you're making.
You can use a steel roller or squeegee to press the layers into place and remove the air. You can also use a vacuum to reduce the number of air bubbles during cure.
Once you've finished your layup, it's time to place your mold in an insulated environment. Typically, epoxies cure at about 250°F. You can also use room temperature-cure epoxies, but they require more time to cure completely.
After the resin has cured, remove the fiber from the mold and sand any rough edges.
To conclude, this simple how-to make carbon fiber at home guide can get you started. While it's possible to create your carbon fiber parts from scratch, some require more skill than others. It's best to start with simple, flat designs and work your way up to more complex projects.
Need help with your carbon fiber project? Contact us or visit our website for inspiration.
UP NEXT: